Panda Chocolate Bar: An Adorable No-Bake Treat
This post contains affiliate links. I only recommend products I use and love. Read the full disclosure here
This panda chocolate bar turns a simple white candy bar into the cutest wide-eyed treat with just a few fondant details. It’s quick, no-bake, and almost too adorable to eat!
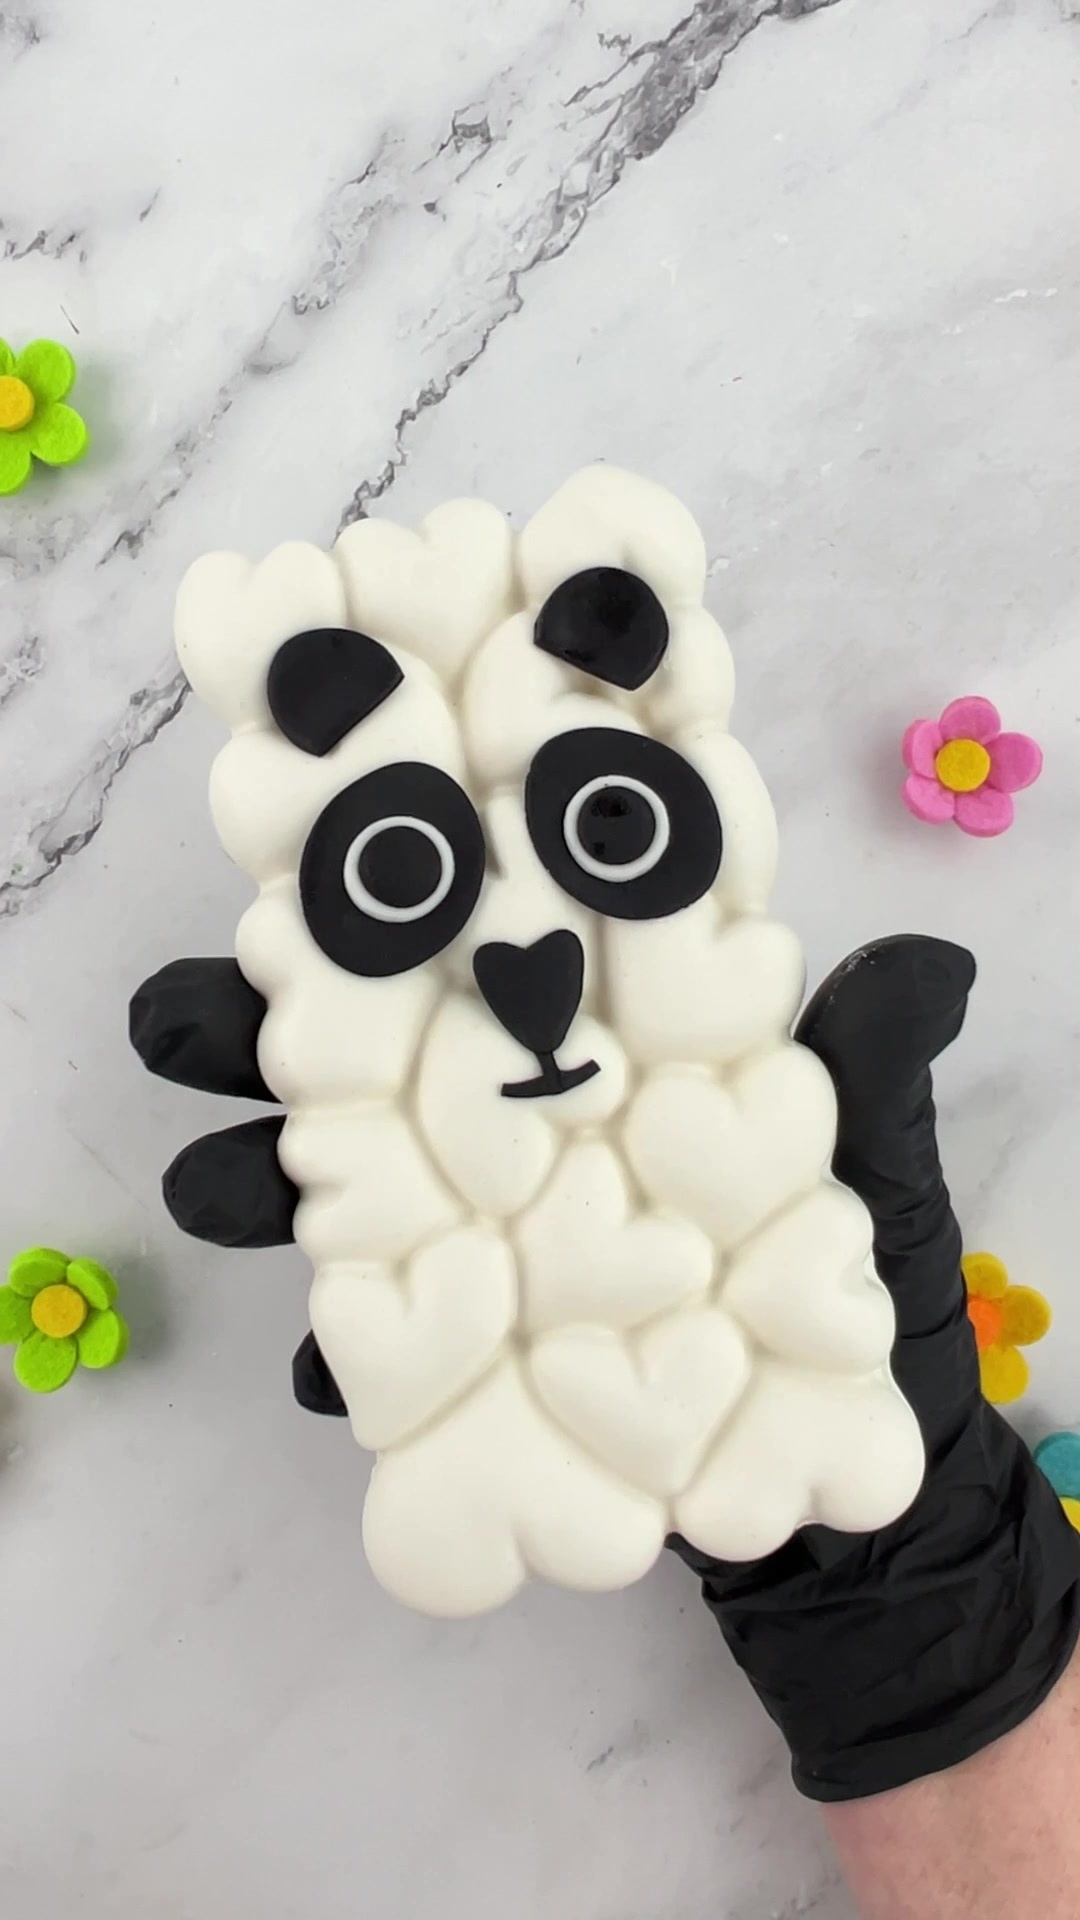
This adorable panda chocolate bar turns a simple molded candy bar into the sweetest black-and-white treat. Made with white candy melts and a few easy fondant shapes, this no-bake project delivers maximum cuteness without complicated decorating.
The puffy heart texture makes the panda look extra soft and cuddly, while the oversized eye patches give its face plenty of personality. Make one for a panda-themed party, a zoo unit, a birthday surprise, or whenever you need a treat that’s almost too cute to eat.
Why You’ll Love This Panda Chocolate Bar
- No baking required: The microwave and refrigerator do most of the work.
- Beginner-friendly decorating: Simple rolled and cut fondant shapes create the entire face.
- Big visual payoff: The heart-shaped texture makes an ordinary candy bar look extra special.
- Easy to personalize: Change the panda’s eyes, mouth, or expression to give it a different personality.
How to Make a Panda Chocolate Bar
Making this panda chocolate bar is surprisingly quick and easy. A heart-textured white candy bar creates the fluffy-looking base, while a few simple black-and-white fondant shapes bring its sweet little face to life. Those oversized eyes and tiny heart-shaped nose do all the work, giving you an adorable no-bake treat in just a few easy steps.
Kitchen Tools
- Silicone heart-patterned chocolate bar mold
- Microwave-safe bowl
- Spoon or piping bag
- Small rolling pin
- Small fondant cutters including heart, circle and oval
- Fondant shaping tool or small knife
- Food-safe brush or clean fingertip for applying water
Ingredients
- White candy melts – make sure you are getting bright white or super white, as regular white tends to be more cream colored
- Black fondant
- White fondant
- Water, for attaching the fondant
The exact amount of candy melts depends on the size and depth of your mold. Melt a little more than you expect to need so the entire mold can be filled evenly.
Instructions
Step 1: Melt the White Candy Melts
Place the white candy melts in a microwave-safe bowl. Heat them according to the package directions, stirring frequently, until completely smooth. Be careful not to overheat, as it can ruin the candy.
Step 2: Fill the Chocolate Bar Mold
Spoon or pipe the melted candy into the heart-patterned mold, making sure it reaches the edges and fills all the little heart shapes. Gently tap the mold on the counter to settle the coating and release trapped air bubbles.
Step 3: Let the Bar Set
Place the filled mold in the refrigerator until the candy is completely firm. Gently flex the silicone mold and lift it away from the bar instead of pulling on the chocolate.
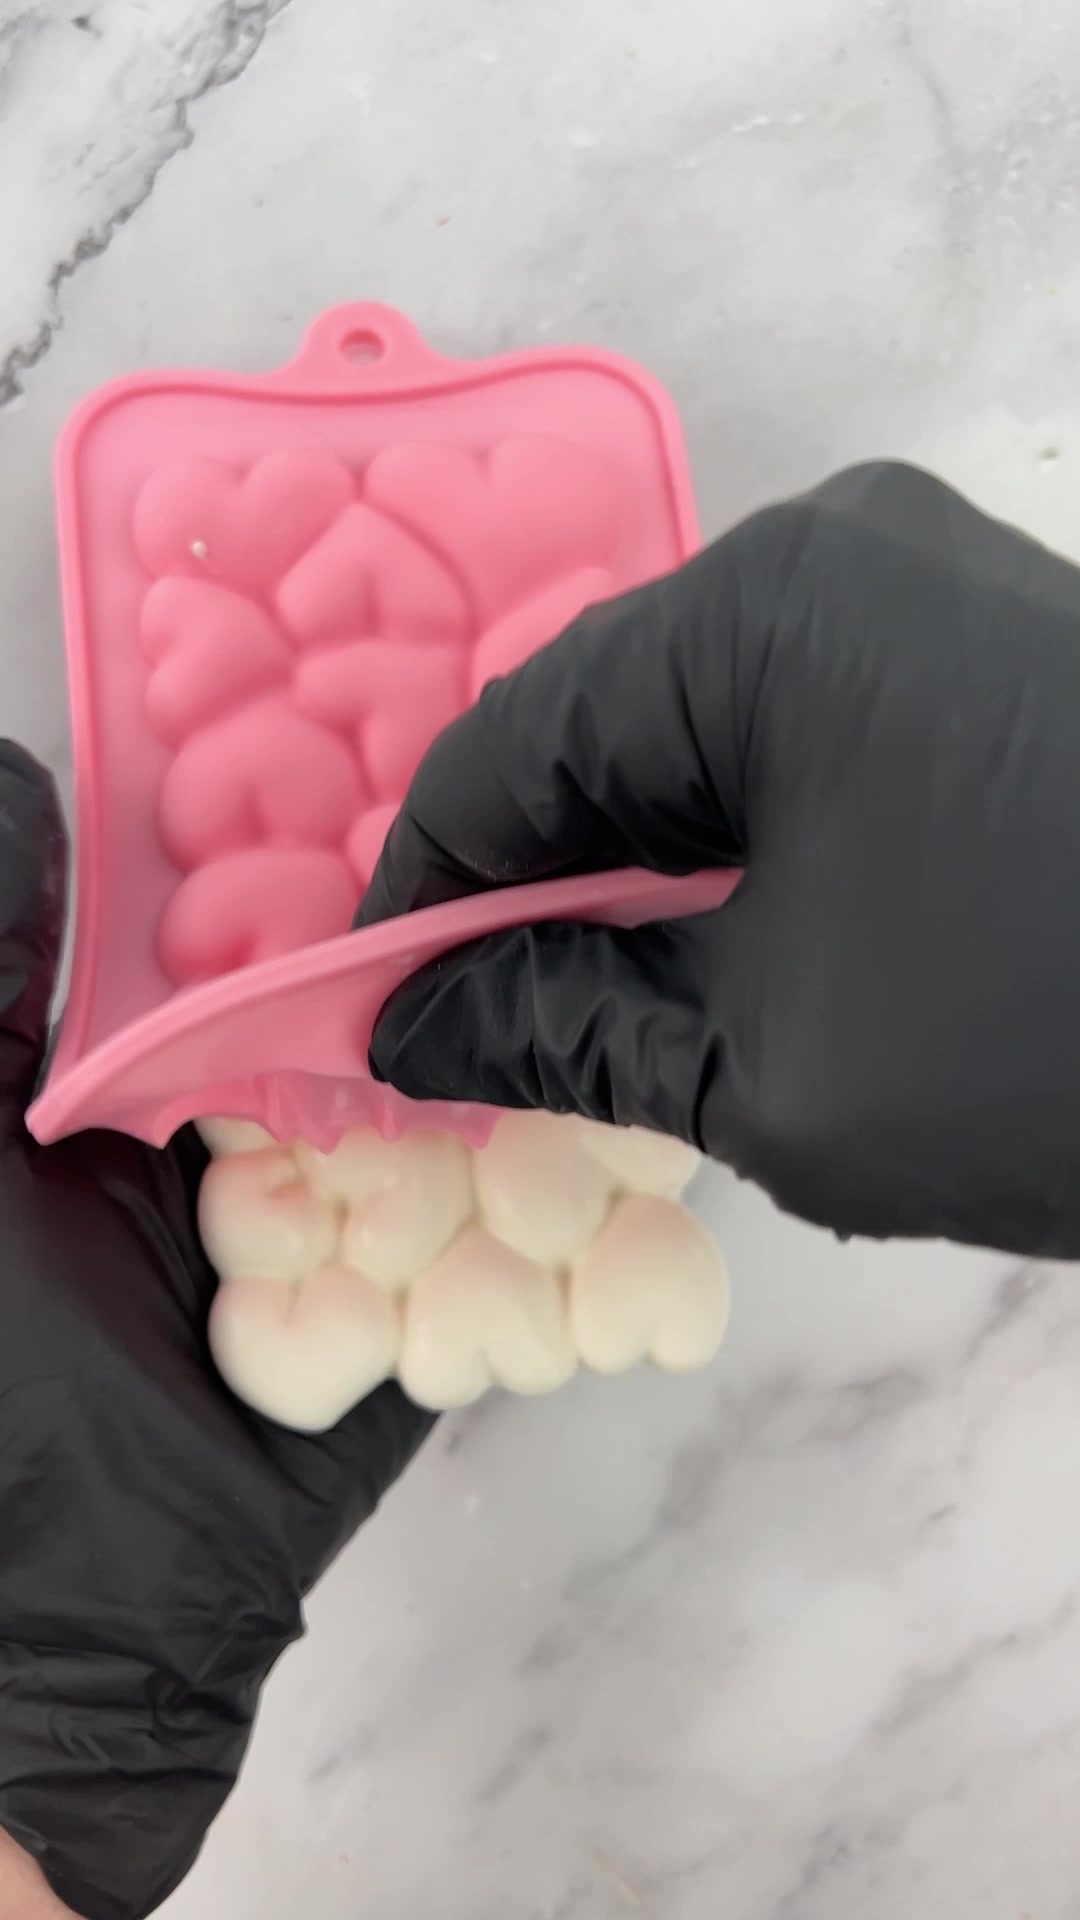
Pro Tip: Peel the flexible mold away from the bar while supporting the chocolate with your other hand. This puts less pressure on the textured hearts and helps prevent cracks.
Step 4: Make the Fondant Details
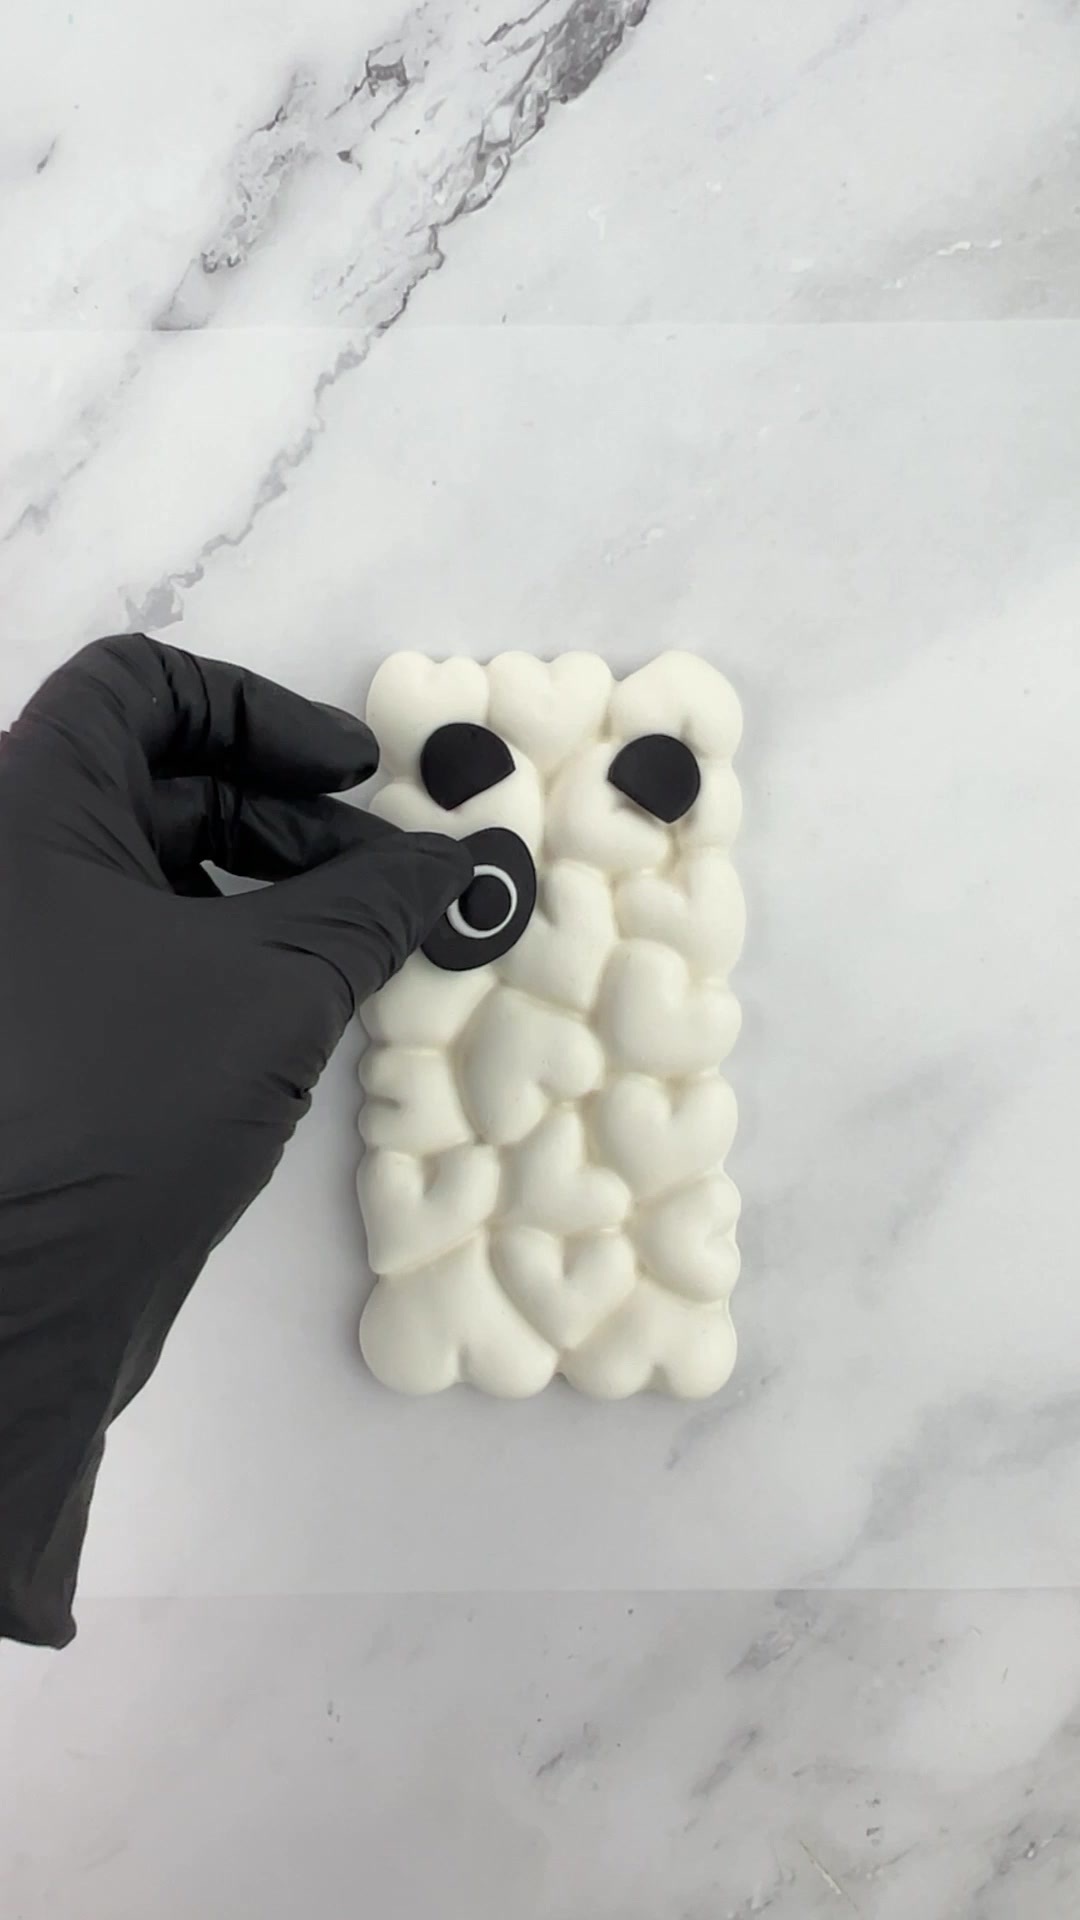
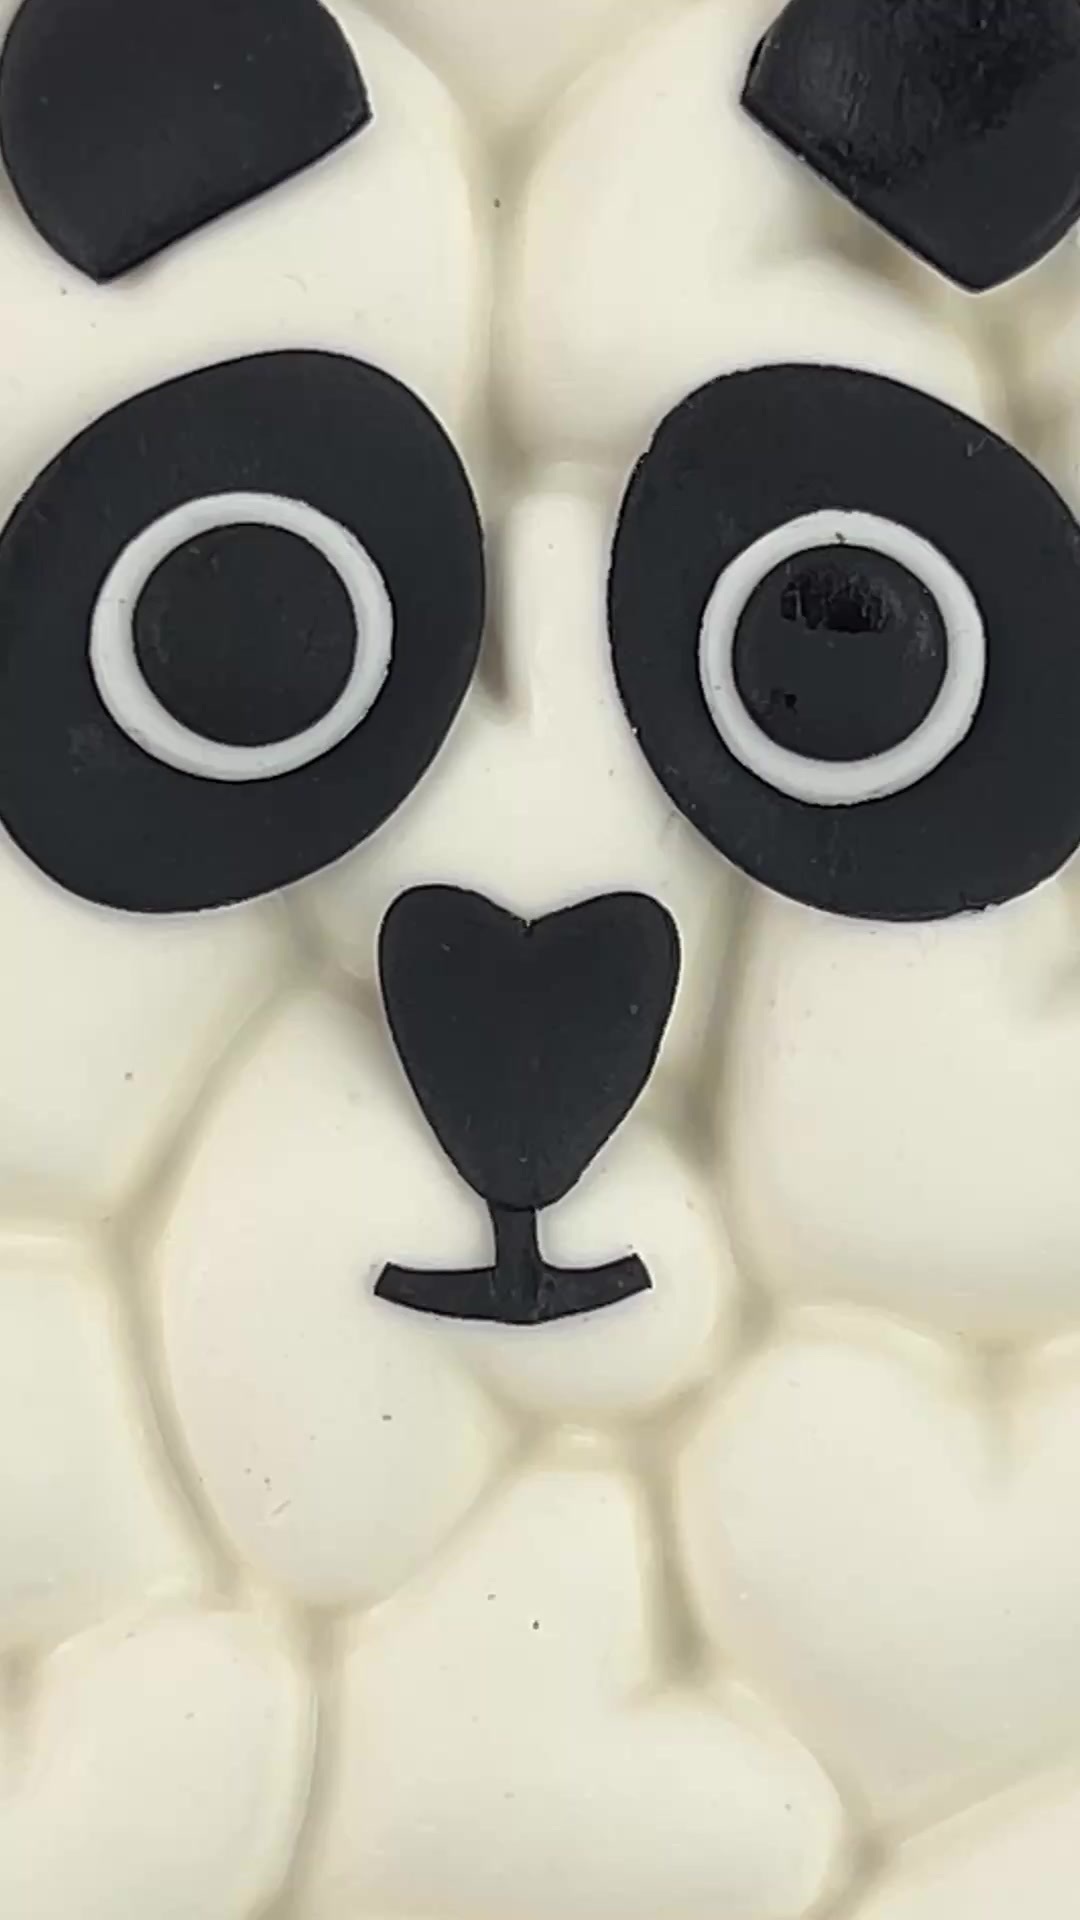
Roll the black fondant into a thin, even layer. Cut or shape two ears, two large eye patches, a small heart-shaped nose, and a thin curved mouth.
For the eye patches, I used an oval cookie cutter, then gently stretched them into oval shapes. The pupils were made using a small round cutter. The ears were also cut with a circle cutter, then I cut the bottom curve off so I would have a flat edge on one end and round on the other.
Roll the white fondant and cut two small rings or circles for the eyes. Add smaller black centers to create the pupils.
Step 5: Add the Panda Ears
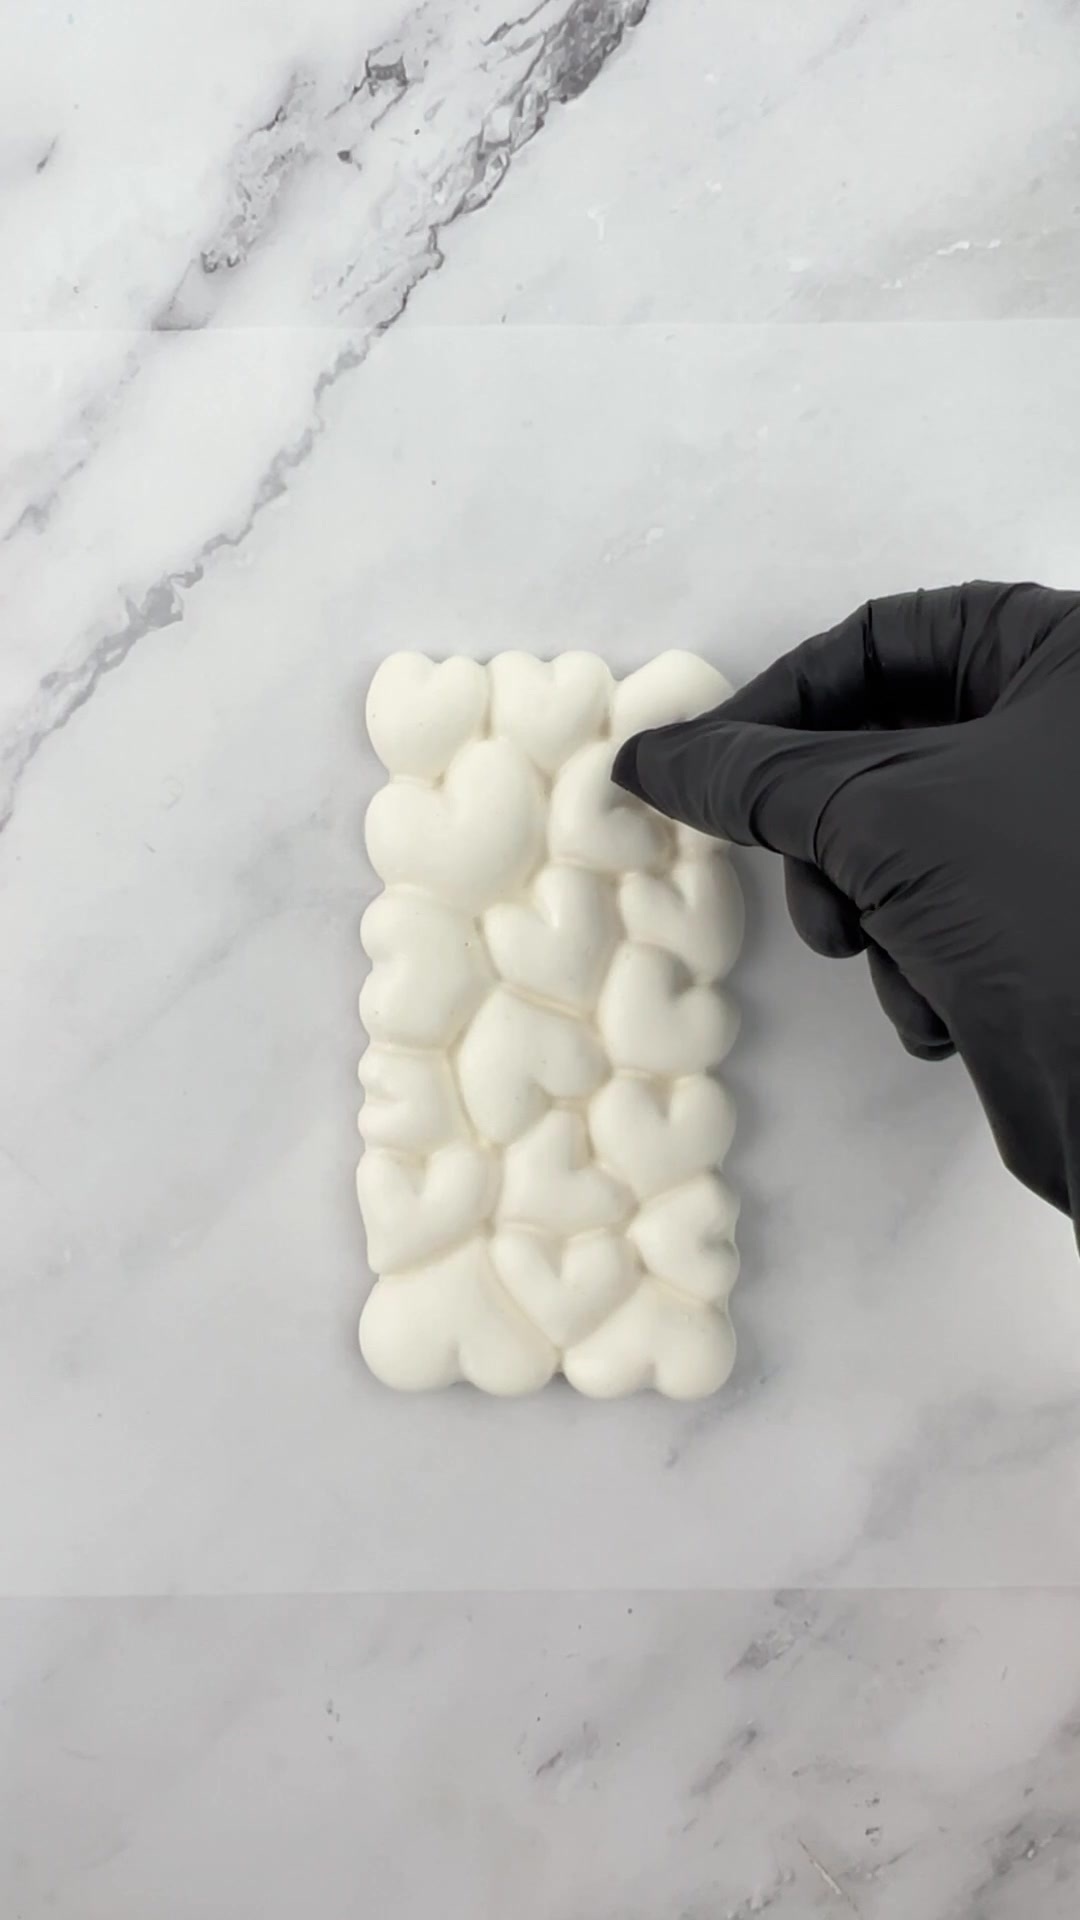
Lightly dab the back of each black fondant ear with water, then position the ears near the top corners of the bar. Use only a tiny amount of water to make the fondant tacky; too much can make it bleed, leave it wet, or slippery.
Step 6: Add the Panda Eyes
Add tiny dabs of water to the backs of the black eye patches and position them on the panda’s face. Attach the white eye pieces and black pupils, then make any small adjustments before pressing them down securely.
Step 7: Add the Panda Nose and Mouth
Finish the face by attaching the little heart-shaped nose and curved mouth with tiny dabs of water. Check the placement before pressing them down so the panda’s expression looks just right.
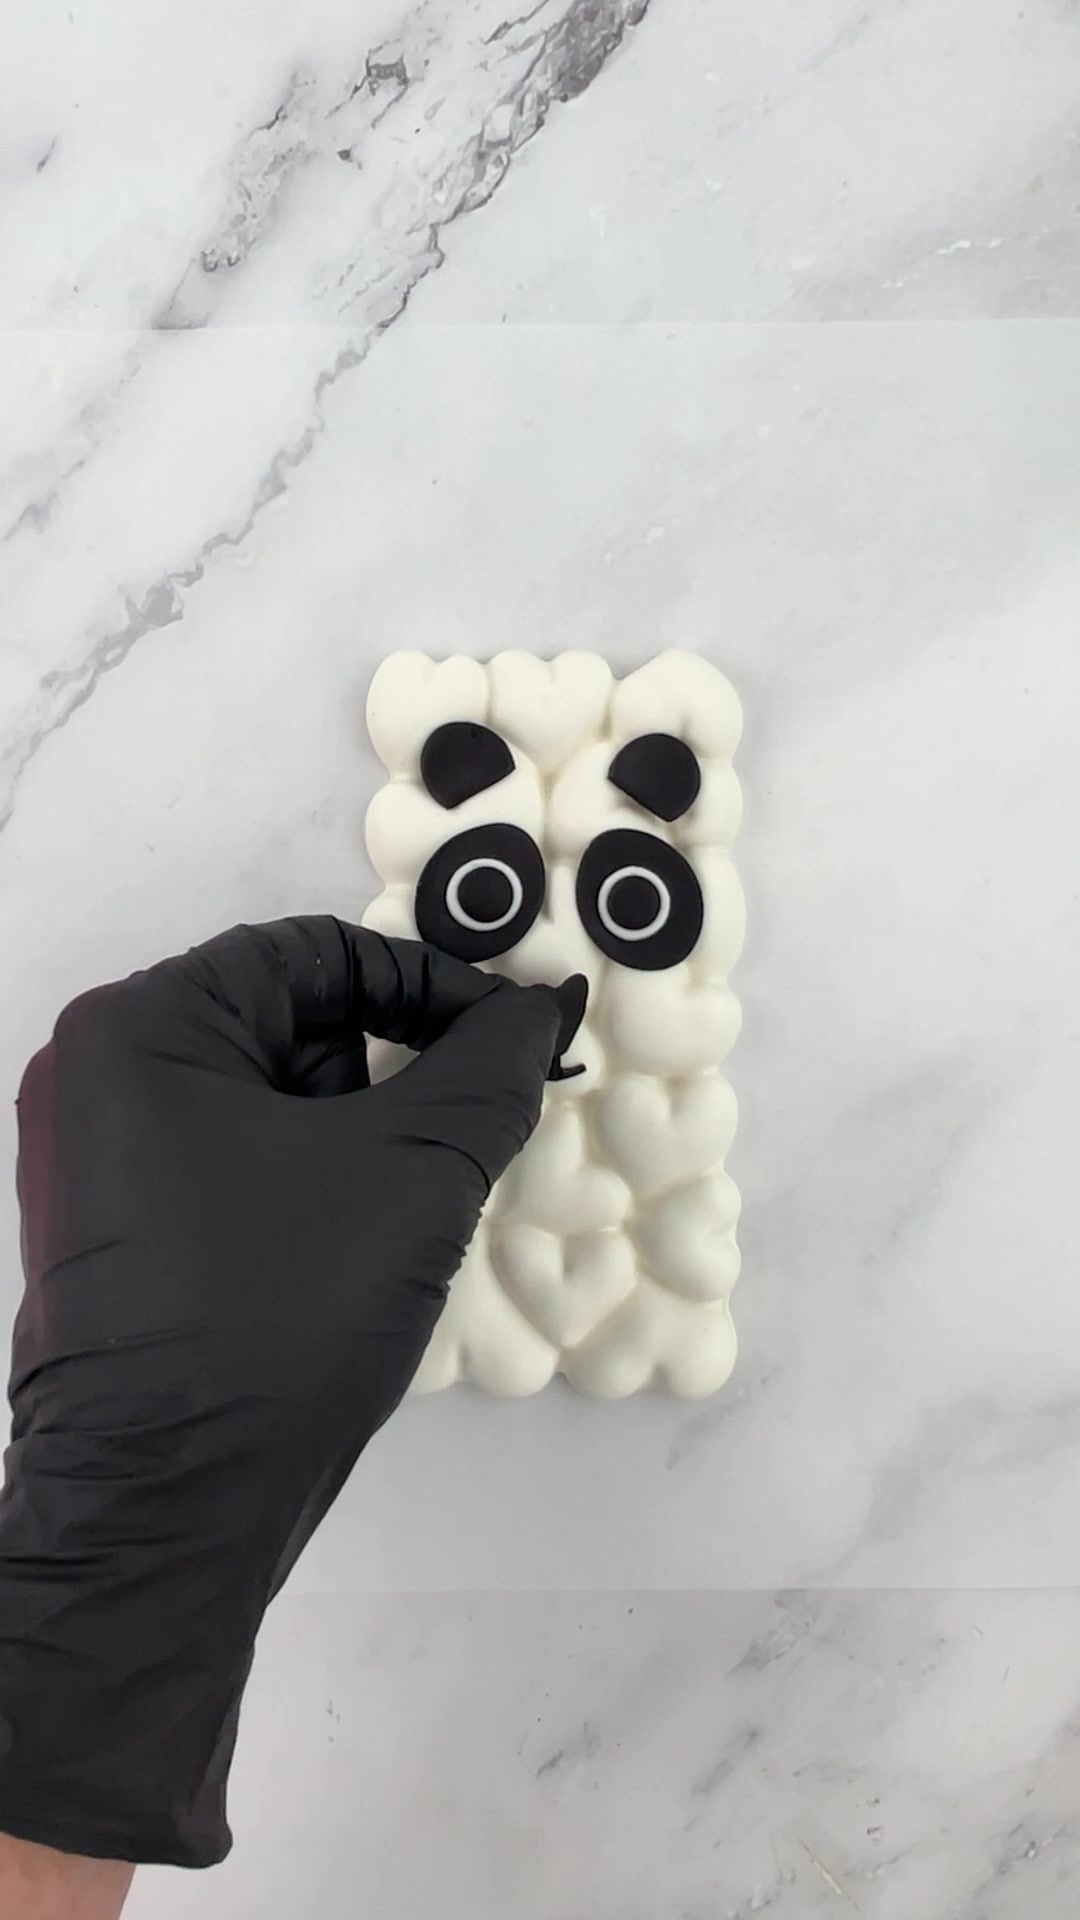
Pro Tip: Arrange the entire face before pressing anything down firmly. Tiny changes in the eye and ear placement can completely change the panda’s expression.
Step 8: Let the Details Set
Leave the decorated bar undisturbed until the fondant pieces feel secure. Now your wide-eyed panda is ready to steal the show!
Tips for the Cutest Panda Candy Bar
- Let the melted candy reach every part of the textured mold before chilling it.
- Tap the filled mold gently to help bubbles rise to the surface.
- Chill the bar until it is fully firm before unmolding it.
- Roll the fondant evenly so paired pieces such as the ears and eye patches look balanced.
- Use the smallest possible amount of water when attaching the decorations.
- Place all the facial pieces lightly before pressing them down so you can adjust the expression.
- Keep the eye patches large. The bold black markings are what make the finished face instantly recognizable as a panda.
Fun Variations
Sleepy Panda
Replace the round eyes with two thin curved lines to create an adorable sleepy expression.
Blushing Panda
Add two tiny pink fondant hearts beneath the eyes for rosy cheeks.
Panda Party Favors
Make several smaller bars and package them individually in clear treat bags for a panda-themed birthday party.
Storage
Store the panda candy bar in an airtight container in a cool, dry place. Keep it away from heat, direct sunlight, and moisture, which can soften the candy coating or make the fondant sticky.
If your kitchen is especially warm, refrigerate the bar in a tightly sealed container. Let the closed container come closer to room temperature before opening it to reduce condensation on the surface.
FAQs
Can I use real white chocolate instead of candy melts?
Yes, but real white chocolate behaves differently and may need tempering to set with a firm, glossy finish. Candy melts are easier for this project because they are designed for melting and molding.
What can I use if I don’t have the heart-patterned mold?
A plain rectangular chocolate bar mold will still work. The finished panda will look smoother rather than fluffy, but the black-and-white face will remain recognizable.
Why did my chocolate bar crack when I removed it?
The bar may have been too thin, not fully set, or bent during unmolding. Make sure the mold is filled evenly and slowly peel the flexible silicone mold away from the firm bar, not the other way around.
Can I make this panda chocolate bar ahead of time?
Yes. Make it several days before serving and store it in an airtight container in a cool, dry place.
Is water really enough to attach fondant to candy melts?
Yes. A very small dab makes the fondant tacky enough to stick. Avoid soaking the pieces because excess water can make the fondant slippery or sticky.
More Cute Food Crafts
If this sweet panda chocolate bar made you smile, try turning more chocolate bars, snack cakes, cookies, and crispy rice treats into easy animal-themed treats. They are perfect for parties, classroom themes, or an afternoon of edible crafting.
Show Me Your Panda-monium!
If you make this panda chocolate bar, I want to see your sweet little panda pal! Tag me on Instagram or TikTok @FunFoodCrafts so I can share your creation and cheer you on. And if this wide-eyed cutie made you smile, share the post with a friend who loves adorable treats.
Free Printable Recipe Card
Panda Chocolate Bar
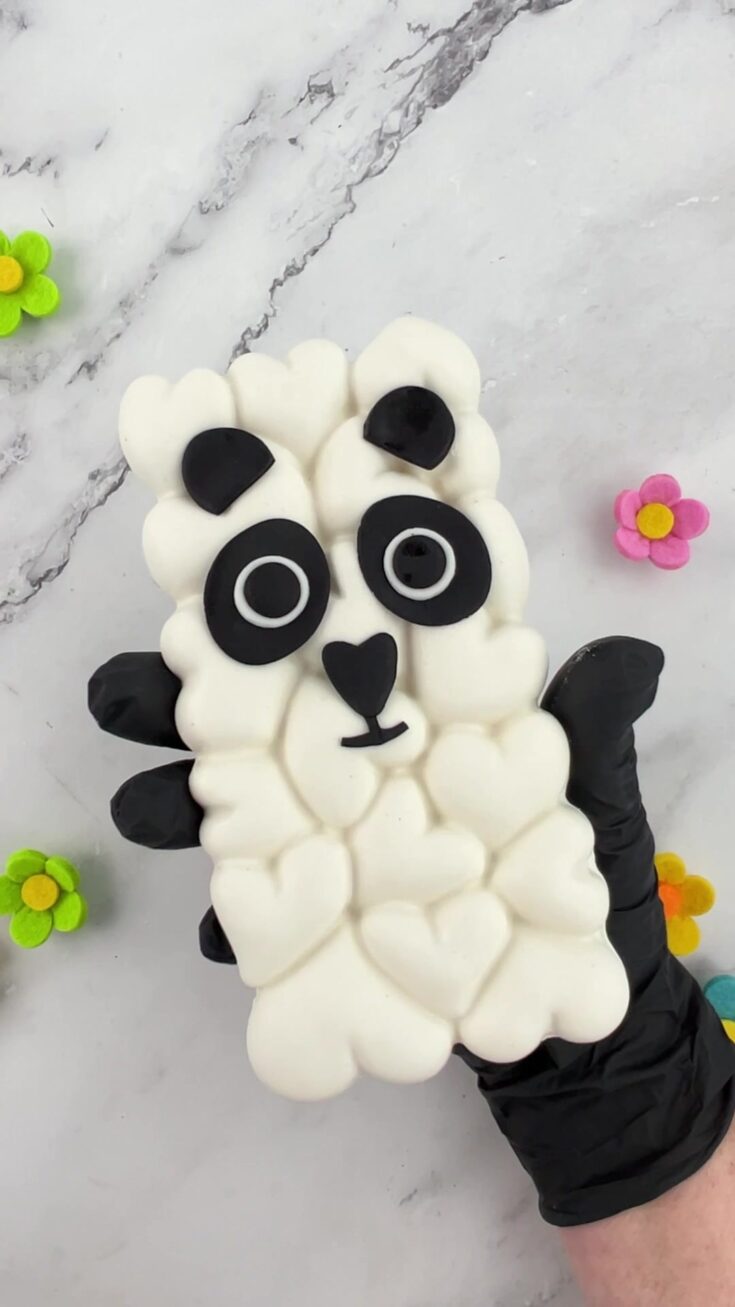
This adorable panda chocolate bar is made with creamy white chocolate and simple black-and-white fondant details. It’s a quick, no-bake treat that’s almost too cute to eat!
Ingredients
- ½- ¾ cups bright white candy melts
- 1½ - 2 teaspoon Black fondant , Fondant amounts are approximate. You only need enough black and white fondant to create the panda’s facial features and ears.
- ½ - 1 teaspoons white fondant , Fondant amounts are approximate. You only need enough black and white fondant to create the panda’s facial features and ears.
Instructions
- Melt the white candy melts according to the package directions, then pour them into the chocolate bar mold. Tap the mold gently to release air bubbles.
- Allow the chocolate bar to set completely, then carefully remove it from the mold.
- Shape the black fondant into two ears, two eye patches, a nose, and a mouth. Shape two small pieces of white fondant for the eyes.
- Lightly dampen the back of each fondant piece with water and attach the ears to the chocolate bar. Then add the black eye patches, followed by the white eyes.
- Attach the fondant nose and mouth, then allow the decorations to set before serving.
Notes
Lay out the facial features before adding water to permanently affix them. This way, you can adjust as needed until you are happy with the layout.
Nutrition Information:
Yield:
1Serving Size:
1 candy barAmount Per Serving: Calories: 237Sodium: 8mgCarbohydrates: 59gSugar: 54g