Cherry Ice Skulls for the Coolest Halloween Drinks

This post contains affiliate links. I only recommend products I use and love. Read the full disclosure here
Cherry Ice Skulls turn any drink into an instant spooky party potion — just freeze, drop, and sip for a creepy-cute surprise!

When your punch needs a little creepy-cute magic, Cherry Ice Skulls are the ultimate trick. They’re blood-red, skull-shaped ice cubes that melt into any drink for instant Halloween drama. Think of them as spooky ice bombs: you freeze them ahead of time, then plop them into Sprite, soda, or juice and watch the chills roll in.
I made these spooky ice cubes because I wanted something simple but bold for my Fun Food Crafts Halloween lineup. Plus, they’re way easier than they look. All you need is a skull ice mold, cherry Kool-Aid or juice, and a freezer. Done.
Reasons Why You’ll Love Cherry Ice Skulls
✅ Make-ahead friendly — they sit in your freezer until party time
✅ Only 2 ingredients plus water
✅ Instant wow factor without extra work
Kitchen Tools You’ll Need to Make Cherry Ice Skulls
- Skull-shaped silicone ice mold
- Measuring cup with a pour spout or a syringe
- Freezer space
Ingredients You’ll Need to Make Cherry Ice Skulls
- Cherry Kool-Aid, cherry juice, or any red drink mix
Step-by-Step Instructions
Step 1: Mix the Potion
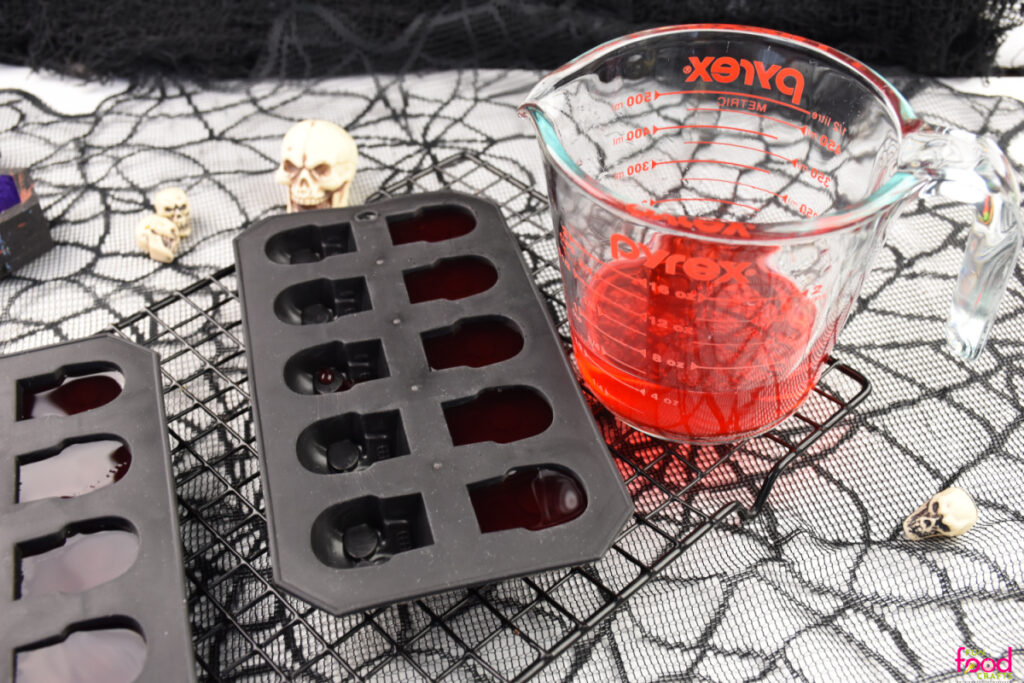
Whisk together your cherry Kool-Aid (or juice) with water according to the package directions. You want a deep red color for the spookiest effect.

Step 2: Fill the Skull Molds
Pour the mixture carefully into your skull-shaped silicone molds. Leave a tiny bit of space at the top for expansion as it freezes.
Step 3: Freeze Solid
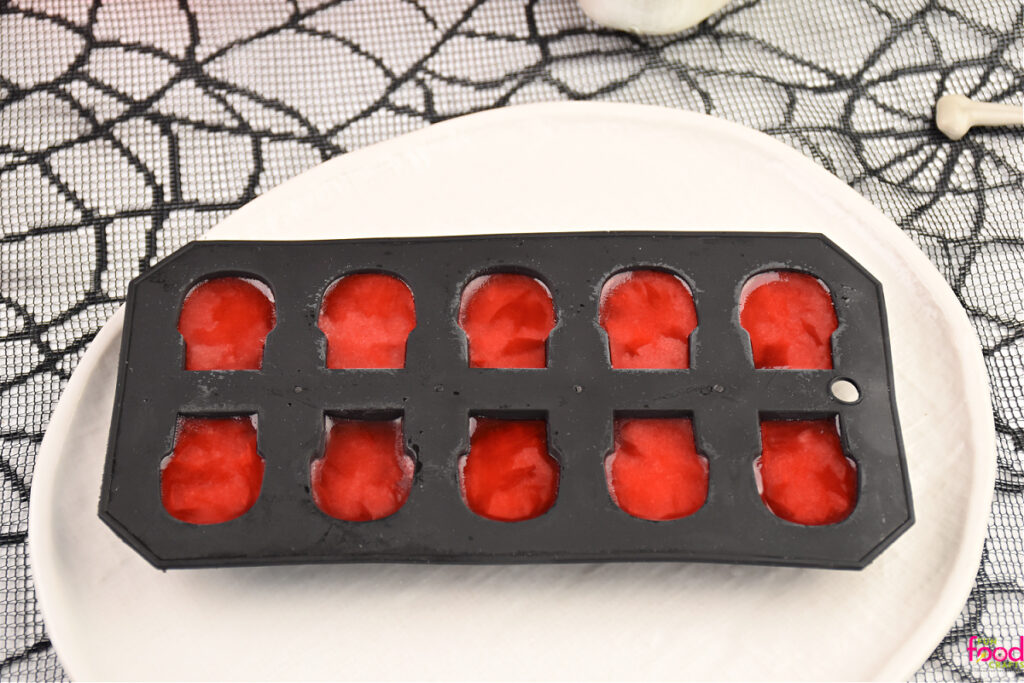
Place the mold flat in your freezer and let it freeze completely — at least a few hours or overnight for best results.
Step 4: Pop Out the Skulls
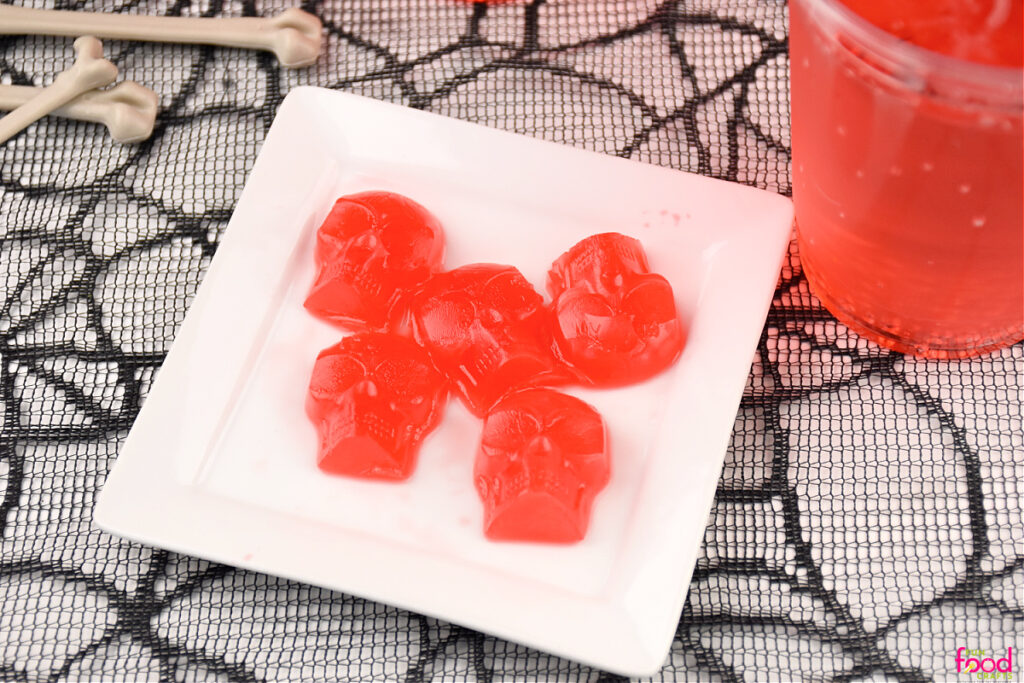
Once frozen, gently pop the Cherry Ice Skulls out of the mold. Handle quickly so they don’t start melting.

Step 5: Drop + Sip
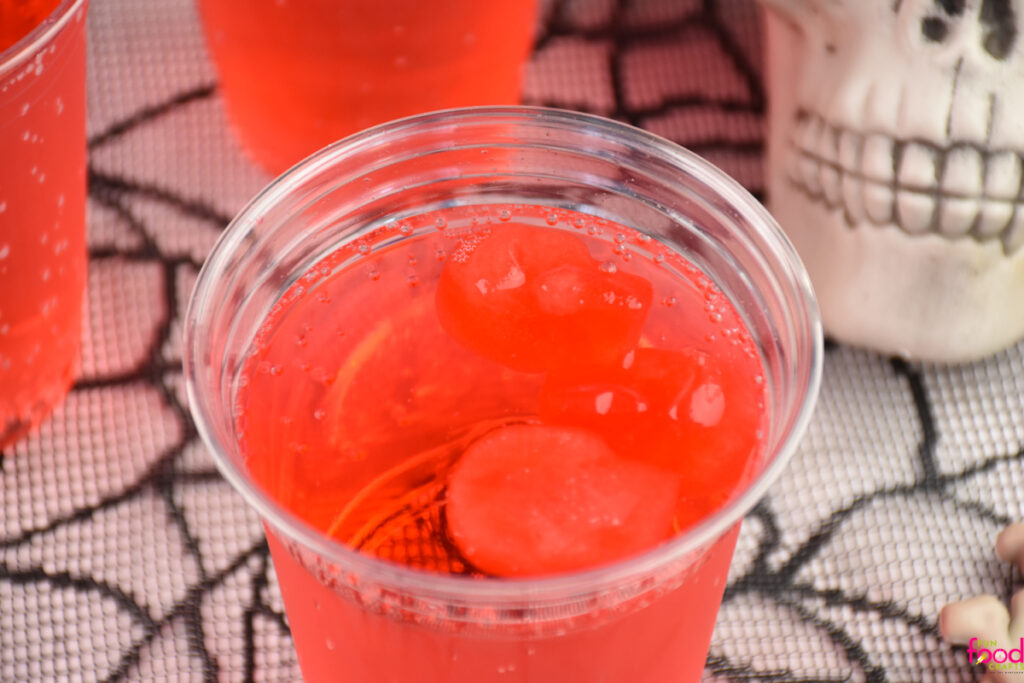
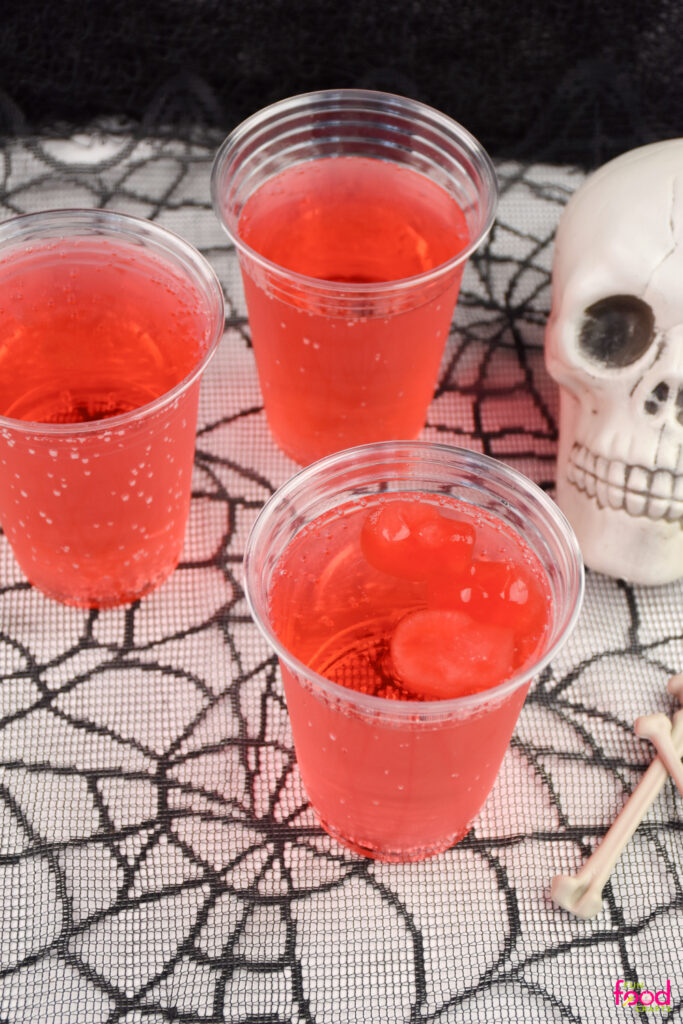
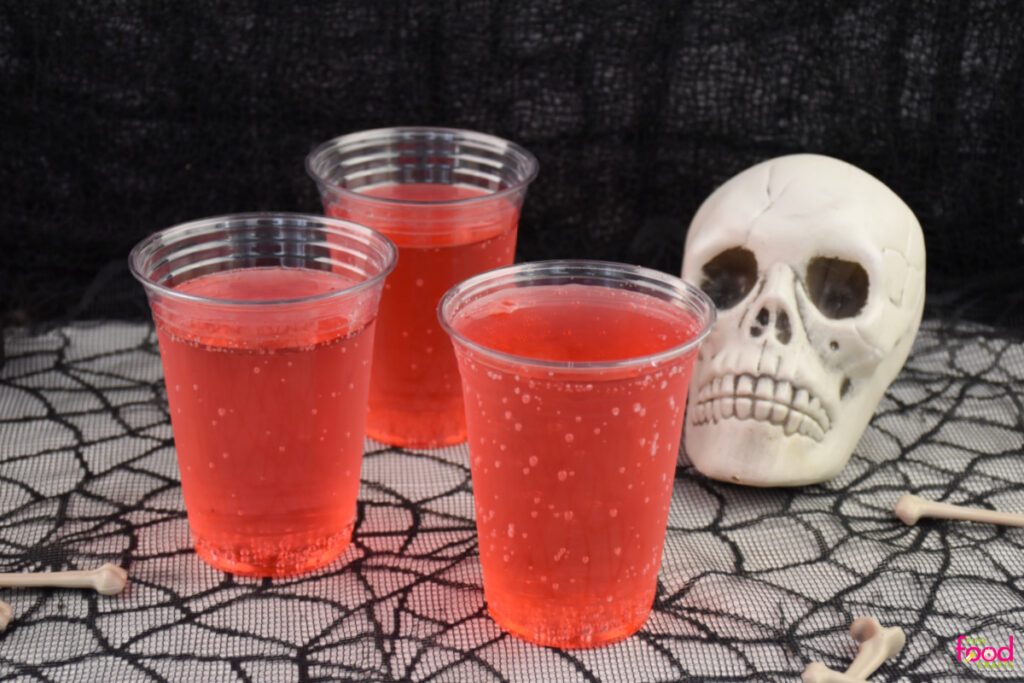
Plop the Cherry Ice Skulls into clear sodas like Sprite or lemon-lime soda and watch them “bleed” into the drink. They also look awesome in punch bowls. The more you add, the darker the color and better the taste,
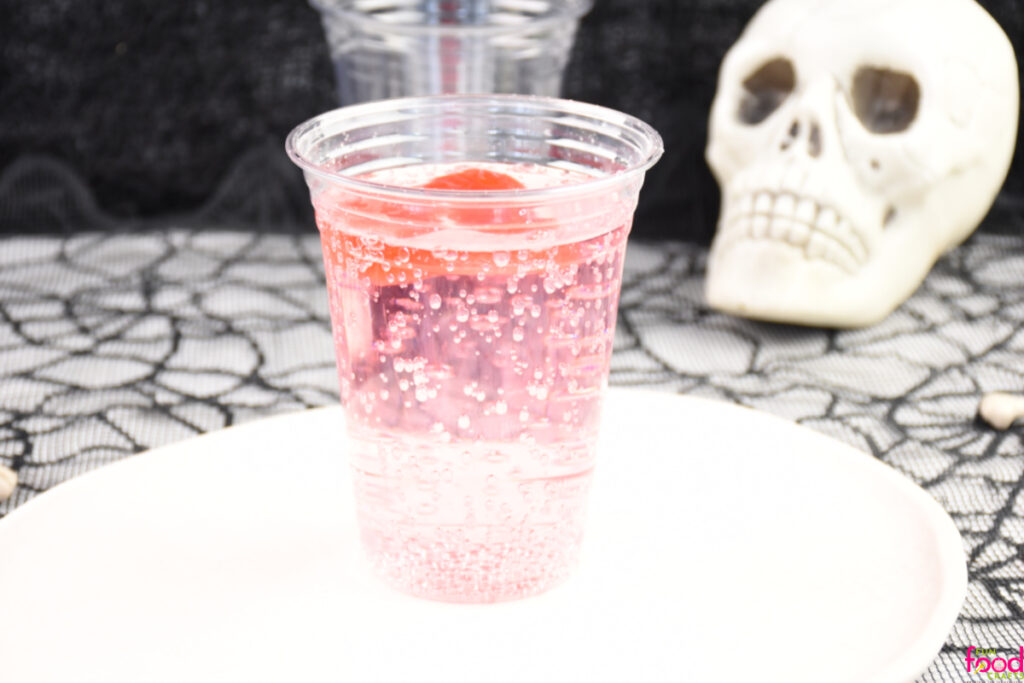
Make sure the drink and cup are cold, too, so the Halloween Cherry Ice Skulls will not melt a bit slower. I prefer to use Sprite as it makes it taste similar to a Shirley Temple!
Recipe Tips and Tricks
- Use clear or light-colored drinks for maximum contrast
- Freeze a day or two ahead to save time
- For a deeper color, add extra cherry mix or a drop of food coloring
- Try mixing in edible glitter for sparkly skulls
Recipe Variations, Additions, and Substitutions
- Use blue Kool-Aid for icy zombie skulls
- Try grape juice for “poison” skulls
- Add small gummy worms into each mold before freezing for a surprise inside
Frequently Asked Questions
Q: How far in advance can I make them?
A: Up to a week — keep them sealed in a freezer bag to prevent freezer burn.
Q: What drinks work best?
A: Sprite, lemon-lime soda, ginger ale, or any clear punch to show off the red color. I think it tastes best with Sprite.
Show Off Your Skull Sips!
Did you make these Cherry Ice Skulls? I’d love to see your spooky drinks! Tag me on Instagram @FunFoodCrafts or TikTok and be sure use #FunFoodCrafts so I can share your creepy-cute creations.
Looking for More Halloween Food Fun?
Printable Recipe Card for Cherry Ice Skulls
Halloween Cherry Ice Skulls

Make your drinks scream Halloween with these Cherry Ice Skulls! Just mix cherry Kool-Aid or juice, pour into skull molds, freeze, and drop them into sodas or punch for a spooky red “bleeding” effect. Perfect for Halloween parties, themed drinks, and kid-friendly fun.
Ingredients
- Cherry Kool-Aid, cherry juice, or any red drink mix
Instructions
- Whisk together your cherry Kool-Aid (or juice) with water according to the package directions. You want a deep red color for the spookiest effect.
- Pour the mixture carefully into your skull-shaped silicone molds. Leave a tiny bit of space at the top for expansion as it freezes.
- Place the mold flat in your freezer and let it freeze completely — at least a few hours or overnight for best results.
- Once frozen, gently pop the Cherry Ice Skulls out of the mold. Handle quickly so they don’t start melting
- Drop several Cherry Ice Skulls into clear sodas like Sprite or lemon-lime soda and watch them “bleed” into the drink. They also look awesome in punch bowls.
Nutrition Information:
Yield:
4Serving Size:
6Amount Per Serving: Calories: 38Total Fat: 0gUnsaturated Fat: 0gSodium: 36mgCarbohydrates: 9gFiber: 0gSugar: 8gProtein: 0g